
Fall Roof Maintenance Checklist for Youngstown Homeowners

A thorough fall roof maintenance checklist in Youngstown includes clearing valley sludge, flushing gutters and downspouts, hand-tabbing lifted shingles, replacing UV-cracked rubber plumbing boots, resealing chimney flashing reglets, trimming overhang limbs back 10 feet, verifying attic rafter baffles, and scheduling a professional pre-winter inspection before sub-freezing temperatures arrive.
Before the first lake-effect snow squalls sweep down from Lake Erie across the Mahoning Valley, taking proactive maintenance steps in September and October is the single most effective way to safeguard your home. Winter weather in Northeast Ohio is unforgiving: heavy snowpack, sub-zero wind chills, and relentless freeze-thaw cycles will aggressively exploit every pre-existing weakness in your roofing envelope.
A proactive autumn maintenance pass takes just a few hours but saves thousands of dollars in emergency winter repairs and water damage remediation. Here is the definitive 10-step fall roof maintenance checklist recommended by Zana Roofing & Construction specialists for homeowners in Boardman, Coitsville Township, and throughout Mahoning County.

Step 1 to 3: Clearing Drainage Paths, Valleys & Downspout Flow

Your roof's primary job is shedding water. When drainage pathways are blocked, roof failure is inevitable:

1. Clear Valleys and Low-Slope Dead Pockets

Roof valleys collect the runoff from two intersecting slopes. Decaying oak and maple leaves form dense, wet dams in valleys that hold moisture directly against shingle surfaces, promoting mold and preventing melting snow from draining freely.

2. Flush Gutters and Downspouts Unobstructed

After the majority of fall leaves have dropped, scoop out all organic sludge. Insert a high-pressure garden hose into downspouts to verify water discharges freely out the lower elbows and at least 6 feet away from your foundation wall.
3. Check Gutter Slope and Fastener Tension
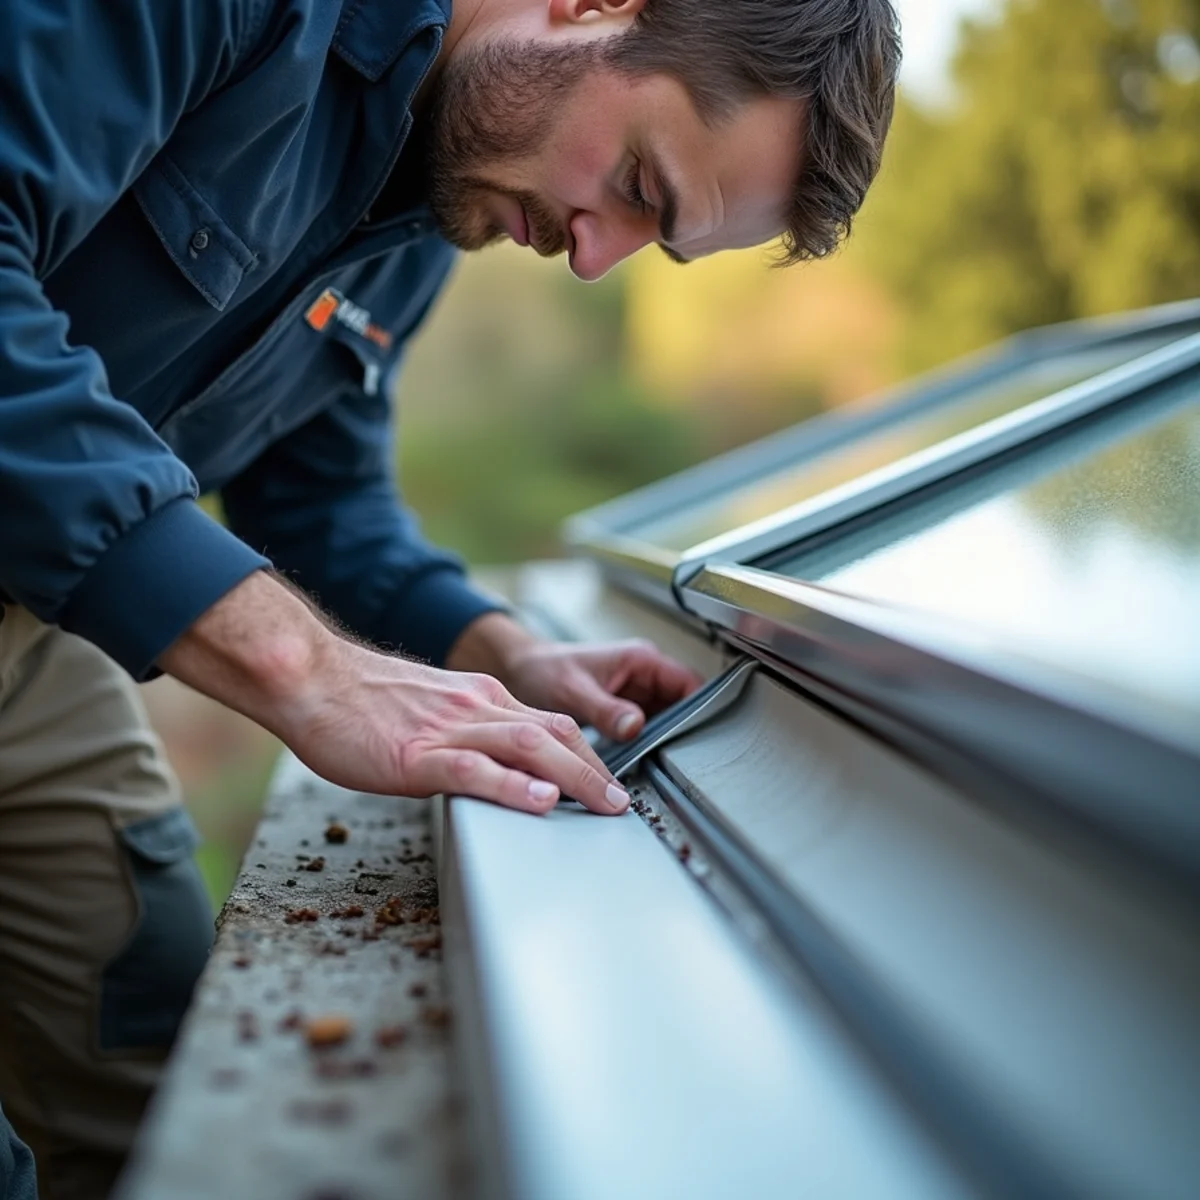
Ensure gutters maintain a continuous downward slope of at least 1/4 inch per 10 feet toward downspouts. Tighten any loose hidden screw hangers so gutters will not sag under winter ice loads.

Step 4 & 5: Penetration Forensics (Boots, Chimneys & Flashing)

Over 80% of winter roof leaks occur at roof penetrations rather than the open shingle field:
4. Inspect Rubber Plumbing Vent Stack Boots
Examine the flexible neoprene rubber collars encircling your plumbing vent pipes. Look closely for sun rot, ozone cracking, or splitting along the pipe seam. Replacing an aged boot before freezing weather arrives prevents major bathroom ceiling leaks.
5. Examine Chimney Mortar and Counter-Flashing Reglets
Check brick masonry chimneys for crumbling mortar, spalling brick faces, and cracked sealant along the metal counter-flashing reglet joints. Resealing with high-grade polyurethane ensures winter meltwater cannot enter.
Step 6 & 7: Shingle Envelope Integrity & Tree Limb Hazard Mitigation
Physical roof protection requires securing shingle tabs and eliminating exterior threats:
6. Inspect Shingle Thermal Adhesion and Missing Tabs
Walk the roof or use binoculars to inspect wind-exposed ridges and rake edges. If any shingle tabs lift easily with fingertip pressure, apply dabs of cold-weather asphalt roof cement beneath them to prevent blow-offs during November windstorms.
7. Prune Overhanging Tree Limbs Back 10 Feet
Heavy snow and ice add immense weight to tree branches, bending them down onto roofs. Prune mature branches back at least 8 to 10 feet from rooflines to prevent mechanical scraping and crushing punctures during winter blizzards.
Step 8 & 9: Attic Thermodynamics (Insulation Baffles & Bypasses)
Preventing destructive ice dams requires ensuring your attic remains cold:
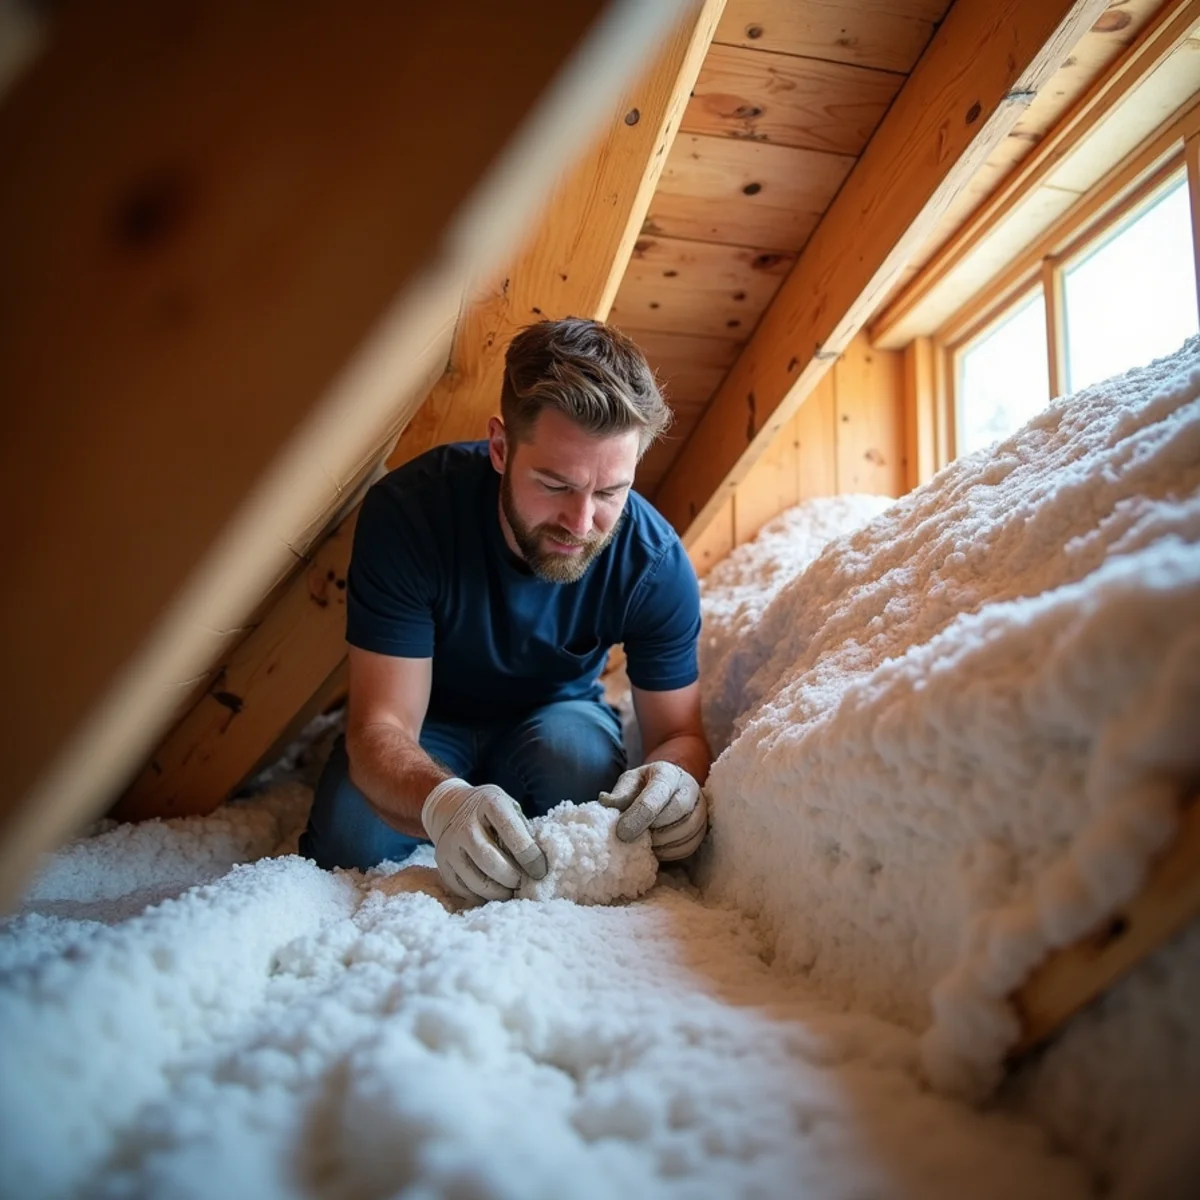
8. Verify Attic Rafter Baffles Are Open and Clear
Enter your attic space and confirm that insulation has not spilled into eaves, choking off soffit intake vents. Rigid rafter baffles must maintain an open 2-inch channel for cold air circulation.
9. Inspect Skylights and Dormer Kickout Flashings
Clean leaf debris from skylight perimeter weep channels, and ensure kickout flashings at wall-to-gutter transitions direct water safely into gutters rather than behind exterior siding.
Step 10: Schedule a Professional Pre-Winter 21-Point Diagnostic
While homeowners can complete basic ground and ladder checks, hiring a licensed roofing contractor for a comprehensive pre-winter diagnostic provides certified peace of mind. Professional roofers possess fall-arrest safety gear, thermal moisture meters, and the trained eye required to spot subtle membrane flaws before winter makes repairs dangerous and costly.
| Checklist Item | Primary Failure Risk if Ignored | Recommended Action / Protocol | DIY vs. Pro Contractor |
|---|---|---|---|
| 1. Roof Valleys & Low Slopes | Leaf debris traps meltwater; accelerates moss & shingle decay | Broom or leaf-blow valleys clear of wet organic matter | DIY (from safe ladder) / Pro |
| 2. Gutters & Downspouts | Standing water freezes into 400-lb ice blocks, prying fascia | Scoop debris; flush downspouts to verify unobstructed discharge | DIY / Pro Gutter Service |
| 3. Shingle Thermal Adhesion | Unsealed tabs catch 60 mph winter wind gusts and tear off | Hand-apply SBS mastic dabs beneath lifting, unbonded tabs | Licensed Pro Roofer |
| 4. Plumbing Vent Stacks | Sun-rotted neoprene splits; meltwater leaks into bathroom ceiling | Replace failed rubber collars with heavy-duty silicone/lead boots | Licensed Pro Roofer |
| 5. Chimney Masonry & Reglets | Freeze-thaw cycles pop cracked mortar, flooding attic | Tuckpoint loose mortar; reseal counter-flashing with polyurethane | Licensed Pro Roofer |
| 6. Overhanging Tree Limbs | Heavy snow accumulation snaps branches onto roof framing | Prune all branches back at least 8 to 10 feet from roof edge | Certified Tree Service |
| 7. Attic Rafter Baffles | Blown insulation blocks soffits, choking attic air and triggering ice dams | Ensure rigid rafter baffles keep 2" clear airway from soffit to ridge | DIY / Pro Insulation |
| 8. Skylights & Roof Curbs | Clogged exterior weep holes force melting snow behind seals | Clean debris from perimeter weep channels; test rubber gaskets | Licensed Pro Roofer |
| 9. Dormer Kickout Flashings | Water cascades into siding wall cavities, rotting wall studs | Verify kickout diverter plates direct water cleanly into gutter troughs | Licensed Pro Roofer |
| 10. Professional 21-Point Diagnostic | Hidden structural defects worsen during winter sub-zero freeze | Complete photographic inspection of shingles, flashings, and attic | Zana Roofing Certified Inspection |
During our autumn inspections in Boardman and Coitsville Township, the single most common defect we find is dry-rotted rubber plumbing vent boots. Standard neoprene collars last roughly 6 to 8 years in Northeast Ohio before solar UV radiation and ozone turn the black rubber brittle. In autumn, the rubber develops microscopic hairline cracks. Homeowners don't notice because gentle fall rains drain quickly. But when January brings sub-zero freezes followed by a sunny afternoon snowmelt, expanding ice splits the collar wide open. Gallons of melting snow pour down the plumbing pipe, soaking attic insulation and collapsing second-floor bathroom drywall. A proactive $15 collar replacement in October prevents thousands in water remediation in January.
Related Local Roofing Services & Coverage
Experiencing issues highlighted in this guide? Our certified roofing crews provide expert fall roof leak repair with rapid response times across Boardman and Coitsville Township.
21-point pre-winter photographic roof and attic evaluations.
Rapid response repairs for flashing leaks, storm damage, and missing shingles.
Custom-formed 6-inch seamless aluminum gutters and leaf protection.
Frequently Asked Questions
Zana Roofing & Construction
Family-owned roofing contractor proudly serving Youngstown and the Mahoning Valley since 2020. Specializing in residential and commercial roof replacement, storm restoration, and 24/7 emergency leak mitigation.